

Key Takeaways
- Knowing a product's normal price range is the only reliable way to recognize a genuine deal.
- A personal price log can be as simple as a notebook or a free spreadsheet — no special app required.
- Tracking just 10–20 items you buy regularly is enough to meaningfully sharpen your shopping decisions.
- Price memory takes a few shopping cycles to build, but becomes a durable and reusable resource.
- Consistent recording, not perfect data, is what makes a price log useful over time.
What you will need
Why Price Memory Is a Shopping Superpower
Most shoppers evaluate a price in isolation — they see a number on a tag and decide whether it feels acceptable. But without knowing what that same item cost last month or at a different store, that judgment has no anchor in reality. Retailers understand this, and pricing strategies are often designed to exploit it.
A personal price log fixes the problem by giving you a factual reference point built from your own observations. Over time, it lets you distinguish a genuine sale from a manufactured one, recognize when a package has quietly shrunk, and buy with confidence rather than guesswork. It's a core habit within the broader skill of comparing prices across stores and one of the most durable tools a regular shopper can build. For a broader framework, see the complete guide to comparing prices.
Sale Prices Are Not the Baseline
Retailers frequently use inflated "original" prices to make discounts look larger than they are. Your price log should record what you actually observe the item selling for across normal shopping trips — not the suggested retail price printed on a tag. Over several weeks, patterns will emerge that show you what "normal" truly looks like.
What You Need Before You Start
Building a price log requires very little setup. Before your next shopping trip, gather the basics:
What you will need
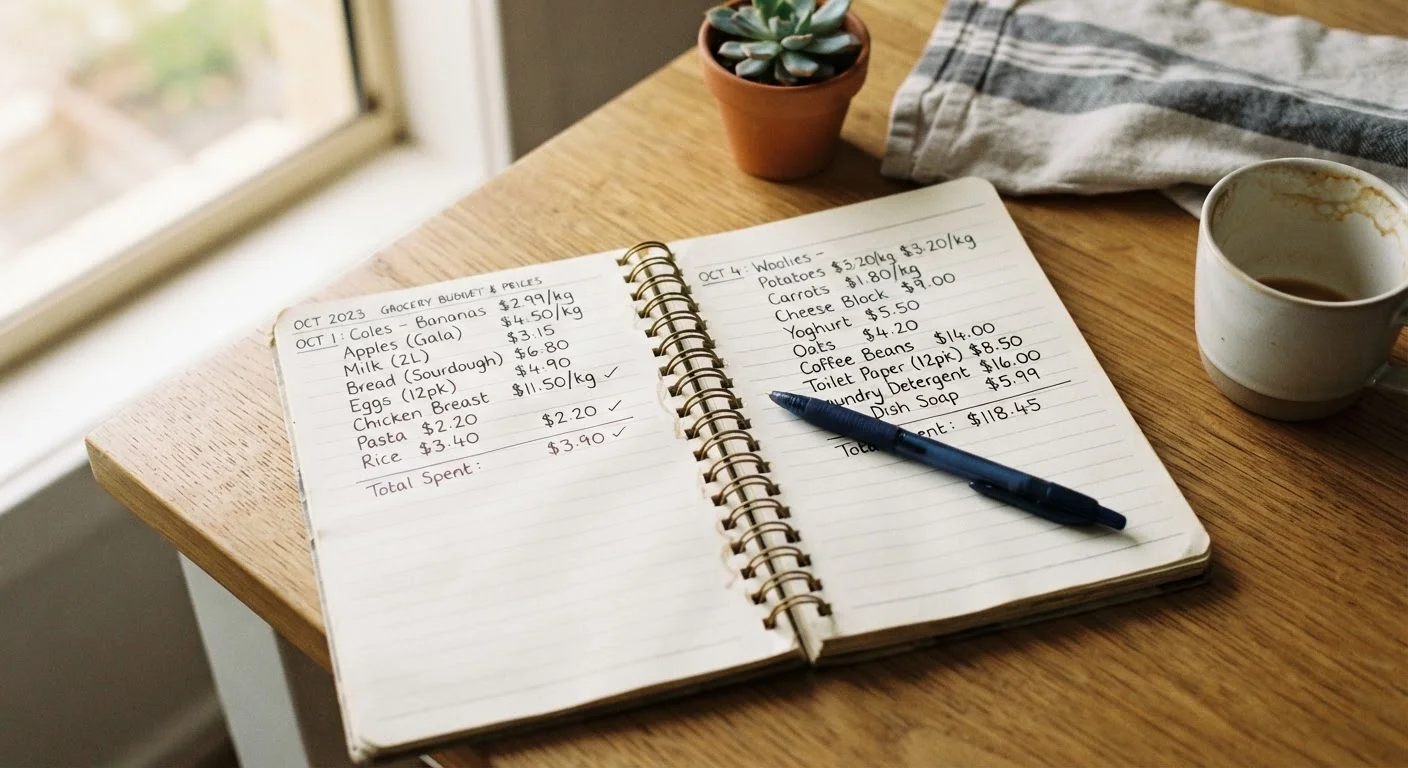
Notebook or pocket notepad
Record prices in-store at the moment you see them, without relying on memory.
Spreadsheet (Google Sheets or similar free tool)
Organize price entries by item, store, date, and unit size for easy comparison over time.
Smartphone camera or notes app
Quickly capture shelf tags or prices digitally while shopping for later entry into your log.
Calculator
Compute unit prices (price per ounce, per sheet, per serving) so you compare apples to apples across different package sizes.
If you're weighing whether to automate this process, it's worth understanding the trade-offs. The comparison between price tracking tools and manual shopping can help you decide what fits your routine. For now, a manual log is the fastest way to start building reliable personal data. This habit also pairs naturally with budgeting basics — knowing what things normally cost makes it far easier to set realistic household spending targets.
Start Small, Then Expand
Resist the urge to track everything at once. Pick 10 to 15 items you buy on a regular basis — staple groceries, household supplies, personal care products — and log only those for the first month. Once the habit is established and you understand how prices move for those items, you can gradually expand to other categories.
How to Build and Use Your Price Log
Follow these steps in order during your next few shopping trips. The process takes under five minutes per trip once the habit is in place.
Choose the items you'll track
Make a list of the products you buy at least once a month — things like a specific size of olive oil, your usual laundry detergent, or a brand of canned tomatoes. Keep this initial list to 10–15 items. Narrowing your focus means you'll actually follow through rather than abandon the project after one trip.
Set up your price log
Create a simple table with these columns: Item name, Package size or unit, Store name, Price paid, Unit price (price ÷ quantity), and Date. A free spreadsheet works well because you can sort and filter entries easily. A notebook works equally well if that's what you'll actually use consistently.
Record prices during your normal shopping trips
Each time you shop, log the price for every item on your tracking list — whether you buy it that trip or not. The goal is to observe prices across time and across stores, not just to record what you purchased. Use your phone's notes app or a small notepad to capture prices in the aisle, then transfer them to your main log at home.
Calculate and record unit prices
Divide the total price by the quantity (ounces, count, liters, etc.) to get a unit price for every entry. This single step makes your log dramatically more useful, because it lets you compare a 32-oz bottle against a 48-oz bottle on the same terms — not just by total cost. Log the unit price in its own column.
Review your log after four to six weeks
Once you've accumulated several entries per item, look for patterns. What's the lowest unit price you've recorded for each item? What's the typical mid-range price? How often does a sale price appear? These patterns form your personal price baseline — the reference point you'll use to evaluate whether a deal is genuine. This is the foundation described in comparing prices effectively.
Update and maintain your log over time
Prices shift due to seasonal demand, supply changes, and retailer strategy. Aim to record a fresh price for each tracked item at least once every two to three shopping trips. You don't need to re-enter every data point — just check whether prices have drifted significantly from your established baseline and update your benchmark accordingly.
Don't Rely on Memory Alone
Human memory is unreliable when it comes to numbers — we tend to anchor on the most recent price we saw or the one that felt surprising. Without a written or digital record, you'll be vulnerable to anchoring bias, where a retailer's stated "original price" shapes your sense of value. Writing prices down, even imperfectly, produces far more accurate reference points than recall alone.