

Key Takeaways
- A spending tracker works with a free spreadsheet — no paid app or financial expertise required.
- Categorizing your expenses is the foundation that makes your data useful and actionable.
- Reviewing your tracker weekly, not just monthly, catches problems before they compound.
- A tracker reveals spending patterns that are invisible when you rely on memory alone.
- Consistency matters more than perfection — even an imperfect tracker beats no tracker.
What you will need
Why Tracking Spending Is the Starting Point
Most budgeting advice begins with setting limits — but limits are guesswork without first knowing where your money actually goes. A spending tracker fixes that. It turns a vague sense of "I spend too much" into specific, actionable numbers you can work with.
Unlike a budget, which is a plan, a spending tracker is a record. It captures what happened. When you pair both tools, you move from hoping to stick to a budget to actually understanding whether you did — and why or why not. If you haven't built a budget yet, our guide to setting up your first monthly budget is a useful companion to this walkthrough.
The approach below uses a free spreadsheet (Google Sheets or Microsoft Excel both work). No specialist software, no subscription, no prior financial knowledge required.
What you will need
How to Build and Use Your Spending Tracker
Follow these steps in order. Each builds on the last, so resist the urge to skip ahead. The whole setup takes under an hour, and maintaining it daily takes fewer than five minutes.
Open a new spreadsheet and name it
Open Google Sheets or Excel and create a new blank file. Name it something clear, such as Spending Tracker – [Year]. Create a separate tab (worksheet) for each month by right-clicking the default tab and renaming it to the current month. This keeps your data organized without clutter.
Set up your column headers
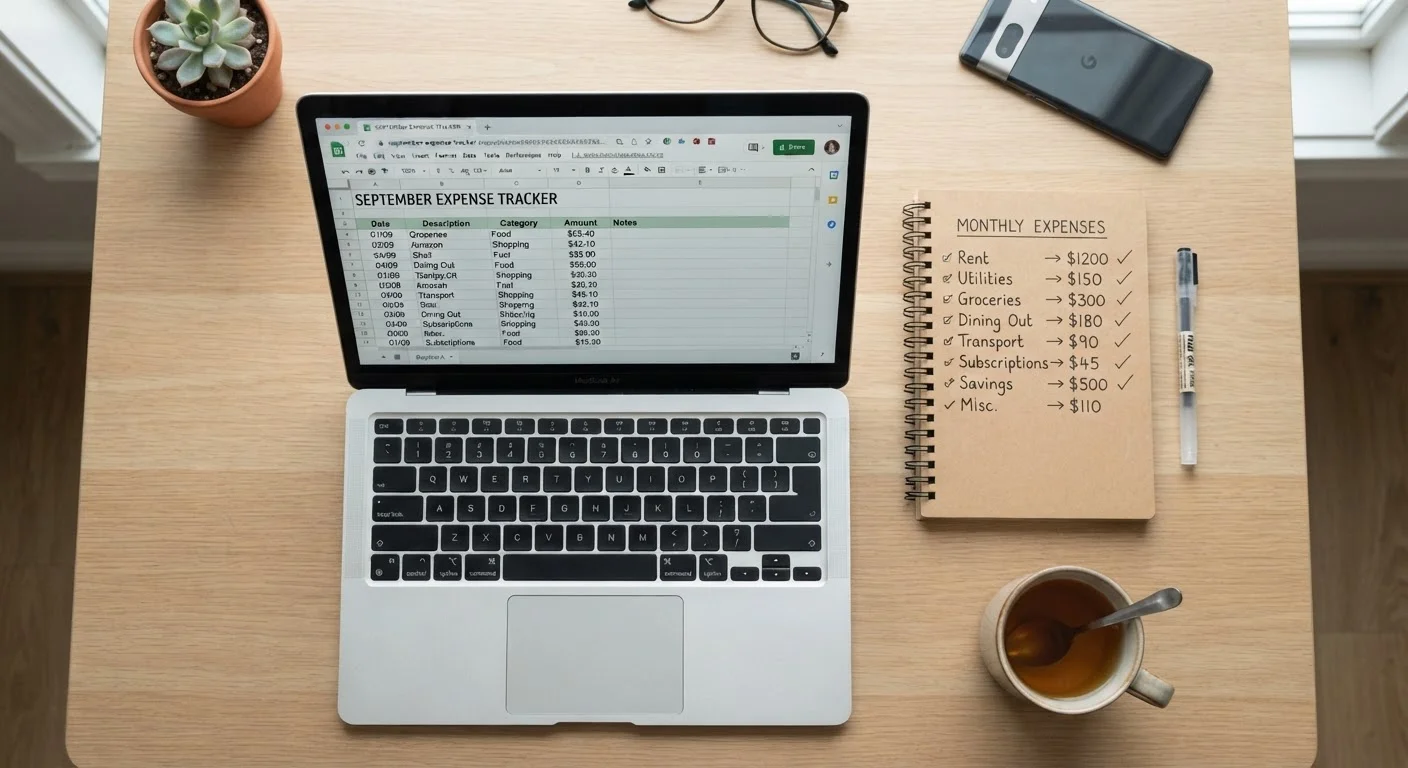
In row 1, create the following column headers across columns A through F:
- A – Date: The date the purchase was made.
- B – Description: A brief note on what you bought or paid (e.g., "Grocery run", "Electric bill").
- C – Category: The spending category this expense belongs to.
- D – Amount: The dollar amount spent.
- E – Payment Method: Cash, debit, credit card, etc.
- F – Notes: Optional — useful for flagging unusual or one-time purchases.
Bold row 1 and freeze it (View > Freeze > 1 row) so the headers stay visible as your list grows.
Define your spending categories
Categories are what transform a list of numbers into insight. Choose categories that reflect your actual life, not someone else's template. A practical starter set:
- Housing (rent, mortgage, utilities)
- Food & Groceries
- Transport (gas, transit, parking)
- Health (prescriptions, copays, gym)
- Personal & Household
- Entertainment & Subscriptions
- Savings & Debt Payments
- Irregular / One-Time
List your chosen categories on a separate tab called Reference so you always apply them consistently. In the Category column (C), use a dropdown list (Data > Data Validation) linked to that reference tab to prevent typos and keep your data clean.
Enter your historical transactions
Pull up your most recent bank or credit card statement and enter every transaction from the past 30 days into your tracker. This gives you an immediate baseline rather than waiting a full month for data. For each row, fill in the date, a short description, the appropriate category, and the amount. Skip the Notes column unless something is truly unusual.
If you pay with multiple cards or accounts, work through one statement at a time to avoid duplication.
Build a summary section
Below your transaction rows (or on a separate Summary tab), create a small table that totals spending by category using the SUMIF formula. For example:
=SUMIF(C:C,"Food & Groceries",D:D)
Repeat this for each category. Then add one final row that sums all categories together. This summary is the number you'll actually use to make decisions — it shows, at a glance, exactly where your money went each month.
Log new transactions daily
From this point forward, enter each transaction the same day it happens — or at minimum, before you go to sleep. Keep your bank's app handy as a reference. Daily logging takes under two minutes once the habit is established, and it prevents the backlog that causes most trackers to fail.
Review and adjust weekly
Set a recurring 10-minute calendar block each week — Sunday evening works well for many people. During this review, check that your running category totals are on pace with what you expected to spend. If one category is already 80% exhausted with two weeks left in the month, you can make a conscious adjustment now rather than discovering the overrun at month's end.
After two to three months of consistent tracking, you'll have enough data to build a realistic budget from scratch — one grounded in what you actually spend, not what you think you should spend.
Automate Where You Can
Some banks and credit unions let you export transactions as a CSV file, which you can paste directly into your spreadsheet instead of typing each entry manually. Check your bank's transaction history page for a download or export option. This can cut setup time significantly and reduce data-entry errors. Our walkthrough on automating your savings covers related automation habits worth pairing with your tracker.
Once your tracker is running smoothly for a month or two, a natural next step is a deeper spending audit to identify exactly where your money leaks. You may also want to explore cash envelopes versus digital budget trackers to decide whether a spreadsheet remains the right fit for your habits long-term.
Common Mistakes and How to Avoid Them
Even simple trackers fail when a few avoidable habits creep in.
- Logging in batches once a week: Memory is unreliable. Small purchases made with cash or tap-to-pay vanish from recall within days. Log daily, or save receipts and photos as you go.
- Creating too many categories: Fifteen categories feels thorough but becomes a chore. Start with six to eight and consolidate later if needed.
- Abandoning the tracker after a bad month: An overspend is data, not a failure. The tracker is most valuable precisely when you've gone over — it tells you where and by how much.
- Forgetting irregular expenses: Annual subscriptions, car registration, and seasonal costs don't appear every month. Create a row or tab for irregular items and divide their annual cost by 12 so they don't blindside you.
Your Tracker Is Not a Substitute for Professional Advice
A spending tracker is a powerful self-awareness tool, but it doesn't replace guidance from a licensed financial professional. If you're managing significant debt, planning for retirement, or navigating a major financial decision, consult a qualified financial adviser or nonprofit credit counselor for advice tailored to your situation.
For readers who want to extend the same discipline to travel spending, the principles here translate directly — see our walkthrough on keeping a travel spending journal for an adaptation that works without any app.
This article is for general informational and educational purposes only. It does not constitute personalized financial advice. For guidance tailored to your individual circumstances, consult a qualified financial professional.